Cherry Pie Bars: A Delightful Homemade Treat
Cherry Pie Bars are a delightful and visually appealing dessert that brings together the classic flavors of cherry pie and the simplicity of a bar. This homemade dessert is perfect for any occasion, easy to make, and slices up beautifully for serving. The versatility of the recipe allows you to use any pie filling, making it a go-to treat for any fruit lover. Let’s dive into the details of how to create this delectable dessert that will surely impress your family and friends.
Ingredients
For the Bars:
- 1 cup unsalted butter (2 sticks), softened to room temperature
- 2 cups sugar
- 1 teaspoon salt
- 4 large eggs
- 1 teaspoon vanilla extract
- ¼ teaspoon almond extract
- 3 cups all-purpose flour
- 2 (21 ounce) cans cherry pie filling
For the Glaze:
- 1 cup powdered sugar
- ½ teaspoon vanilla extract
- ½ teaspoon almond extract
- 2-3 tablespoons milk

Instructions
1. Preheat Your Oven Begin by preheating your oven to 350°F (175°C). This ensures that your oven reaches the correct temperature by the time you’re ready to bake the bars.
2. Cream the Butter and Sugar In a large mixing bowl, combine 1 cup of unsalted butter, 2 cups of sugar, and 1 teaspoon of salt. Using a hand mixer or stand mixer, cream these ingredients together until the mixture is light and fluffy. This step is crucial as it helps to incorporate air into the mixture, resulting in a lighter and more tender texture for your bars.
3. Add the Eggs and Extracts Add the eggs, one at a time, to the butter and sugar mixture, beating well after each addition. This gradual addition ensures that the eggs are fully incorporated and the mixture remains smooth. Once the eggs are incorporated, add 1 teaspoon of vanilla extract and ¼ teaspoon of almond extract. The vanilla extract adds a warm, sweet flavor, while the almond extract gives a subtle nutty note that complements the cherry filling beautifully.
4. Incorporate the Flour Gradually add 3 cups of all-purpose flour to the mixture. It’s best to add the flour in portions, mixing well after each addition to ensure it is evenly distributed throughout the dough. This results in a smooth and consistent batter that will bake evenly.
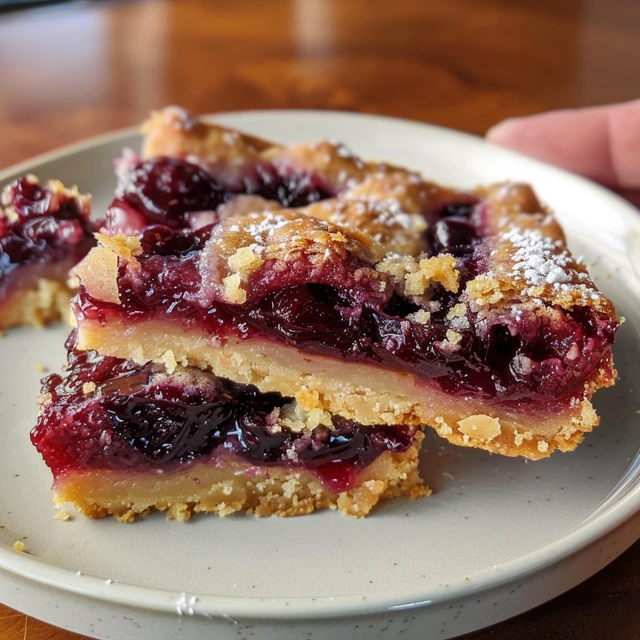
5. Assemble the Bars Spread 3 cups of the dough into a greased 15x10x1-inch baking pan. Use a spatula or your hands to press the dough into an even layer. Next, spread the 2 cans of cherry pie filling evenly over the dough. The vibrant red of the cherry filling creates a beautiful contrast against the pale dough, making these bars as visually appealing as they are delicious.
6. Add the Topping Drop the remaining dough by teaspoonfuls over the cherry filling. These small dollops of dough will spread slightly during baking, creating a rustic, cobblestone effect on top of the bars.
7. Bake to Perfection Bake the assembled bars in your preheated oven for 30-35 minutes, or until the top is golden brown. The edges should be slightly crisp, while the center remains soft and tender. Once baked, remove the pan from the oven and allow the bars to cool completely on a wire rack. This cooling step is crucial as it allows the bars to set and makes them easier to slice.
8. Prepare the Glaze While the bars are cooling, prepare the glaze. In a small bowl, combine 1 cup of powdered sugar, ½ teaspoon of vanilla extract, ½ teaspoon of almond extract, and 2-3 tablespoons of milk. Stir until the glaze reaches your desired consistency. The glaze should be smooth and slightly runny, perfect for drizzling over the cooled bars.
9. Drizzle the Glaze Once the bars are completely cooled, drizzle the glaze over the top. The sweet, glossy glaze adds a beautiful finishing touch and an extra layer of flavor that complements the tart cherry filling and buttery dough.
10. Slice and Serve After glazing, allow the bars to sit for a few minutes so the glaze can set. Then, slice the bars into 12 servings. Each bar should have a perfect balance of buttery dough, tart cherry filling, and sweet glaze. These bars are easy to serve and make a great addition to any dessert table.

Tips for Perfect Cherry Pie Bars
- Room Temperature Ingredients: Ensure that the butter and eggs are at room temperature before you start. This helps them to incorporate better into the batter, resulting in a smoother texture.
- Even Layering: When spreading the dough and cherry filling, aim for even layers. This ensures that each bite has a balanced combination of crust and filling.
- Cooling Time: Allow the bars to cool completely before glazing and slicing. This helps the bars to set properly and makes them easier to handle.
- Customizable Fillings: While cherry is a classic choice, feel free to experiment with other pie fillings such as blueberry, apple, or peach. Each variation will bring a unique flavor to the bars.
The Perfect Treat for Any Occasion
Cherry Pie Bars are a versatile and crowd-pleasing dessert that can be enjoyed year-round. Whether you’re hosting a summer barbecue, a holiday gathering, or simply want a delicious treat for your family, these bars are sure to be a hit. The combination of buttery crust, tart cherry filling, and sweet glaze creates a harmonious blend of flavors and textures that will leave everyone asking for seconds.
Variations and Additions
Cherry Pie Bars offer a fantastic base that you can easily adapt and customize to suit different tastes and occasions. Here are some creative variations and additions to elevate your Cherry Pie Bars to the next level:
Fruit Variations
- Mixed Berry: Replace the cherry pie filling with a mixed berry filling for a burst of multiple berry flavors. A combination of blueberries, raspberries, and blackberries works wonderfully.
- Apple Cinnamon: Use apple pie filling and add a sprinkle of cinnamon to the dough for a warm, autumn-inspired treat.
- Peach: Opt for peach pie filling and add a touch of nutmeg to the batter for a delightful summer dessert.
Nutty Additions
- Almond Topping: Sprinkle slivered almonds on top of the bars before baking for an added crunch and a boost of nutty flavor.
- Pecan Streusel: Create a simple streusel topping with chopped pecans, brown sugar, and a bit of flour and butter, and sprinkle it over the dollops of dough for an extra layer of texture and taste.
Chocolate Lovers
- Chocolate Drizzle: In addition to the glaze, drizzle melted chocolate over the bars for a decadent twist.
- Chocolate Chips: Mix mini chocolate chips into the dough for little pockets of chocolatey goodness throughout the bars.
Creamy Enhancements
- Cream Cheese Layer: Add a layer of sweetened cream cheese between the dough and the cherry filling for a creamy and tangy addition.
- Whipped Cream: Serve the bars with a dollop of whipped cream or a scoop of vanilla ice cream for a delightful contrast of temperatures and textures.

Storing and Serving Suggestions
Cherry Pie Bars can be made ahead of time and stored for later enjoyment, making them a convenient dessert option for busy schedules.
Storing
- Room Temperature: Store the bars in an airtight container at room temperature for up to three days. This is ideal for maintaining their texture and flavor.
- Refrigeration: For longer storage, keep the bars in the refrigerator for up to a week. Make sure they are well-covered to prevent them from drying out.
- Freezing: To freeze the bars, wrap them tightly in plastic wrap and then place them in a freezer-safe container or bag. They can be frozen for up to three months. Thaw at room temperature before serving.
Serving
- Individual Servings: Slice the bars into individual portions and arrange them on a platter for easy serving at parties and gatherings.
- Garnish: Garnish the bars with fresh cherries, a sprinkle of powdered sugar, or a few almond slices for a beautiful presentation.
- A La Mode: Serve the bars warm with a scoop of vanilla ice cream or a dollop of whipped cream for an extra indulgent treat.
Why Cherry Pie Bars are a Must-Try
Cherry Pie Bars are more than just a dessert; they are a testament to the beauty of simplicity combined with delicious flavors. Here’s why you should consider making these bars:
Easy to Make
The recipe is straightforward and doesn’t require any special equipment or advanced baking skills. Whether you’re a seasoned baker or a novice, you can successfully create these bars with ease.
Versatile
The recipe’s versatility allows you to customize it according to your preferences or the ingredients you have on hand. You can easily switch out the cherry filling for another fruit or add different toppings to suit your taste.
Crowd-Pleaser
These bars are perfect for feeding a crowd. The large baking pan yields 12 generous servings, making them ideal for parties, potlucks, and family gatherings.
Delicious and Satisfying
The combination of buttery crust, sweet and tart filling, and sugary glaze creates a dessert that is both satisfying and irresistible. Each bite is a perfect blend of flavors and textures.
Final Thoughts
Cherry Pie Bars are a delightful dessert that combines the best elements of a traditional cherry pie with the convenience of a bar. They are easy to make, versatile, and perfect for any occasion. Whether you stick to the classic cherry filling or experiment with different flavors and toppings, these bars are sure to become a favorite in your dessert repertoire.
So, gather your ingredients and get ready to bake a batch of these delicious Cherry Pie Bars. They’re sure to bring smiles to the faces of everyone who tries them. Enjoy the process of baking and, most importantly, savor every delicious bite of these homemade treats!


