Ultimate Guide to Baking the Perfect Gluten-Free Brownies
If you’re a chocolate lover, these gluten-free brownies are about to become your new favorite indulgence. Rich, fudgy, and perfectly sweet, these brownies are a testament to how delicious gluten-free baking can be. Whether you’re new to gluten-free baking or a seasoned pro, this recipe will quickly become a staple in your kitchen. In this article, we’ll dive deep into the world of gluten-free brownies, covering everything from the best ingredients to use, baking tips, storage advice, and much more. By the end, you’ll be equipped with all the knowledge you need to bake the perfect gluten-free brownies every time.
Why Choose Gluten-Free?
For many, gluten-free baking is a necessity due to celiac disease or gluten sensitivity. However, even those without gluten-related health issues are increasingly turning to gluten-free recipes for various reasons. Some believe that gluten-free baked goods are lighter and easier on the digestive system, while others appreciate the opportunity to experiment with different flours and ingredients. Whatever your reason for choosing gluten-free, it’s essential to know that it doesn’t mean sacrificing flavor or texture. With the right recipe, like the one we’re about to explore, you can enjoy brownies that are just as rich and satisfying as their gluten-containing counterparts.

The Importance of Quality Ingredients
One of the keys to successful gluten-free baking is using high-quality ingredients. Since gluten-free flour behaves differently from traditional wheat flour, the type and brand of flour you choose can significantly impact your results.
Gluten-Free Flour: In this recipe, we recommend using Pillsbury gluten-free flour, which contains xanthan gum. Xanthan gum is crucial in gluten-free baking as it helps mimic the elasticity and structure that gluten provides. Not all gluten-free flours are created equal, so it’s essential to find a blend that works well for your specific needs. Some other popular brands include Bob’s Red Mill and King Arthur, but always make sure your chosen flour contains xanthan gum or a similar binding agent, or add it separately if necessary.
Cocoa Powder: The type of cocoa powder you use will also affect the flavor and texture of your brownies. For a rich, intense chocolate flavor, opt for high-quality unsweetened cocoa powder. Dutch-processed cocoa can give your brownies a darker color and more mellow flavor, while natural cocoa powder will provide a slightly tangier taste.
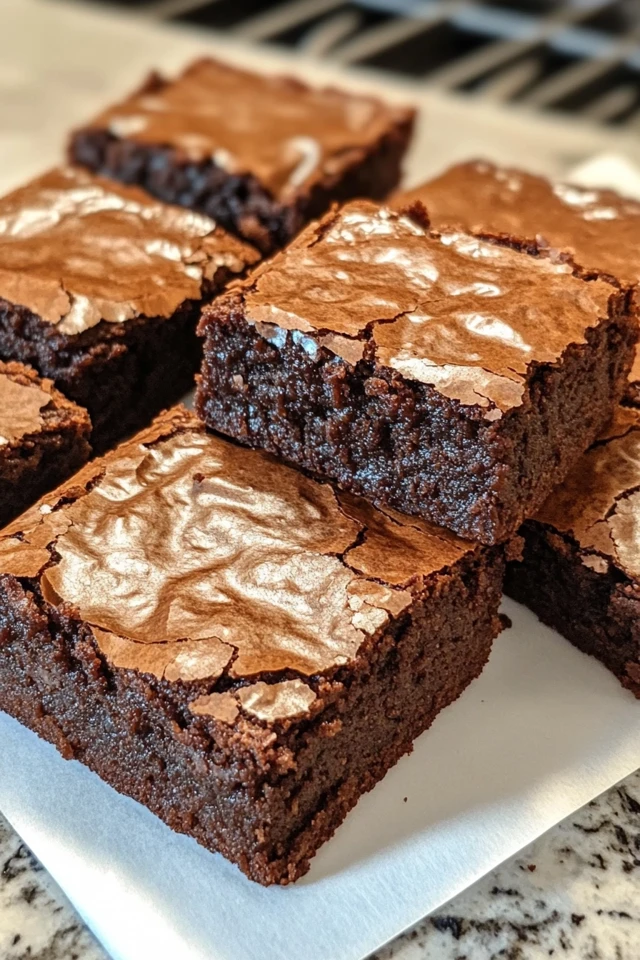
Sugars: This recipe uses both granulated and brown sugar. The combination of the two sugars gives these brownies their distinct texture—crispy on the outside and chewy on the inside. Brown sugar adds moisture and a slight caramel flavor that enhances the overall taste.
Butter: Butter adds richness and flavor to brownies. If you’re dairy-free, Smart Balance butter is an excellent alternative that still provides that creamy texture without compromising the integrity of the brownies.
Step-by-Step Guide to Making Gluten-Free Brownies
Now, let’s break down the process of making these delectable gluten-free brownies. With just a few simple steps, you’ll be on your way to enjoying a chocolatey treat that everyone will love.
- Preheat Your Oven: Start by preheating your oven to 350ºF (175ºC). This ensures that your brownies will bake evenly.
- Prepare Your Baking Pan: For easy removal and cleanup, spray an 8×8 square baking pan with gluten-free non-stick cooking spray, or line it with parchment paper. If using parchment paper, be sure to coat the bottom and sides with non-stick spray or butter for added insurance against sticking.
- Mix the Wet Ingredients: In a large bowl, combine the melted butter, pure vanilla extract, granulated sugar, and brown sugar. Stir until the mixture is fully combined and smooth. The sugars should dissolve slightly, creating a glossy mixture that will give your brownies their signature crackly top.
- Incorporate the Eggs: Add the eggs one at a time, mixing well after each addition. The eggs provide structure and richness to the brownies. Be sure to mix until the eggs are fully incorporated, but avoid overmixing to prevent a tough texture.
- Combine the Dry Ingredients: In a separate medium-sized bowl, whisk together the gluten-free flour, cocoa powder, baking soda, and salt. Whisking helps to evenly distribute the ingredients and break up any lumps, ensuring a smooth batter.
- Mix Wet and Dry Ingredients: Gradually add the dry ingredients to the wet mixture, stirring until just combined. The batter should be thick and glossy. Overmixing can lead to dense brownies, so mix just until you no longer see streaks of flour.
- Pour and Bake: Pour the brownie batter into your prepared baking pan, spreading it evenly with a spatula. Bake in your preheated oven for 30-35 minutes. The brownies are done when a toothpick inserted into the center comes out with a few moist crumbs, not wet batter. Be cautious not to overbake, as this can result in dry brownies.
- Cool and Serve: Once baked, remove the brownies from the oven and allow them to cool completely in the pan. This cooling period is crucial for the brownies to set and achieve the perfect texture. After cooling, cut into nine squares and enjoy!

Tips for Perfect Gluten-Free Brownies
Baking gluten-free brownies can sometimes be tricky, but with these tips, you’ll achieve perfection every time:
- Measure Your Flour Correctly: The “spoon and level” method is the best way to measure gluten-free flour. Scooping flour directly with a measuring cup can lead to too much flour, resulting in dense, dry brownies. Instead, spoon the flour into your measuring cup and level it off with the back of a knife.
- Don’t Overbake: Keep a close eye on your brownies as they bake. Every oven is different, and a few minutes too long in the oven can mean the difference between moist, fudgy brownies and dry, crumbly ones. Start checking at the 30-minute mark.
- Experiment with Mix-Ins: If you want to add a twist to your brownies, consider mixing in chocolate chips, nuts, or even a swirl of peanut butter before baking. These additions can take your brownies to the next level.
Storing and Freezing Gluten-Free Brownies
To keep your brownies fresh and delicious, proper storage is key:
- At Room Temperature: Store your brownies in an airtight container at room temperature for up to three days. Make sure the container is tightly sealed to prevent the brownies from drying out.
- In the Refrigerator: If you need to store them for longer, place the brownies in an airtight container in the refrigerator for up to a week. This method may slightly change the texture, making them denser and fudgier.
- Freezing: For long-term storage, wrap each brownie tightly in plastic wrap and place them in a freezer-safe bag or container. They can be frozen for up to three months. When you’re ready to enjoy them, thaw at room temperature or warm them in the microwave for a few seconds.

Conclusion
These gluten-free brownies are a must-try for anyone who loves chocolate. With their rich, fudgy texture and intense chocolate flavor, they’re sure to satisfy any sweet tooth. Plus, they’re easy to make and perfect for sharing—or keeping all to yourself! Whether you’re new to gluten-free baking or an experienced baker, this recipe is sure to become a favorite in your repertoire. Happy baking!


