
Are you tired of your plain walls and outdated furniture? Do you dream of creating a space that reflects your unique style and personality? Look no further! In this blog post, we will explore a wide range of DIY projects and creative ideas that will help you revamp your home without breaking the bank.
First up, let’s talk about simple upgrades that can make a big impact. One of the easiest ways to transform a room is by giving it a fresh coat of paint. Whether you choose a bold and vibrant color or a soft and soothing shade, a new paint job can instantly breathe new life into any space. And don’t limit yourself to just the walls – consider painting your furniture, cabinets, or even the ceiling for a truly unique look.
Next, let’s move on to furniture makeovers. Instead of splurging on new pieces, why not give your existing furniture a second chance? With a little bit of sanding, painting, and reupholstering, you can turn an old and worn-out chair into a stylish statement piece. And if you’re feeling particularly adventurous, you can even try your hand at building your own furniture from scratch. There are countless online tutorials and resources available to guide you through the process, so don’t be afraid to get creative!
Now, let’s shift our focus to the outdoors. Your backyard or balcony can be an extension of your living space, so why not make it as inviting and comfortable as possible? Consider adding a cozy seating area with comfortable cushions and throw pillows, or create a lush garden oasis with potted plants and hanging baskets. If you have a green thumb, you can even try your hand at growing your own fruits, vegetables, or herbs. Not only will this add beauty to your outdoor space, but it will also provide you with fresh and organic produce.
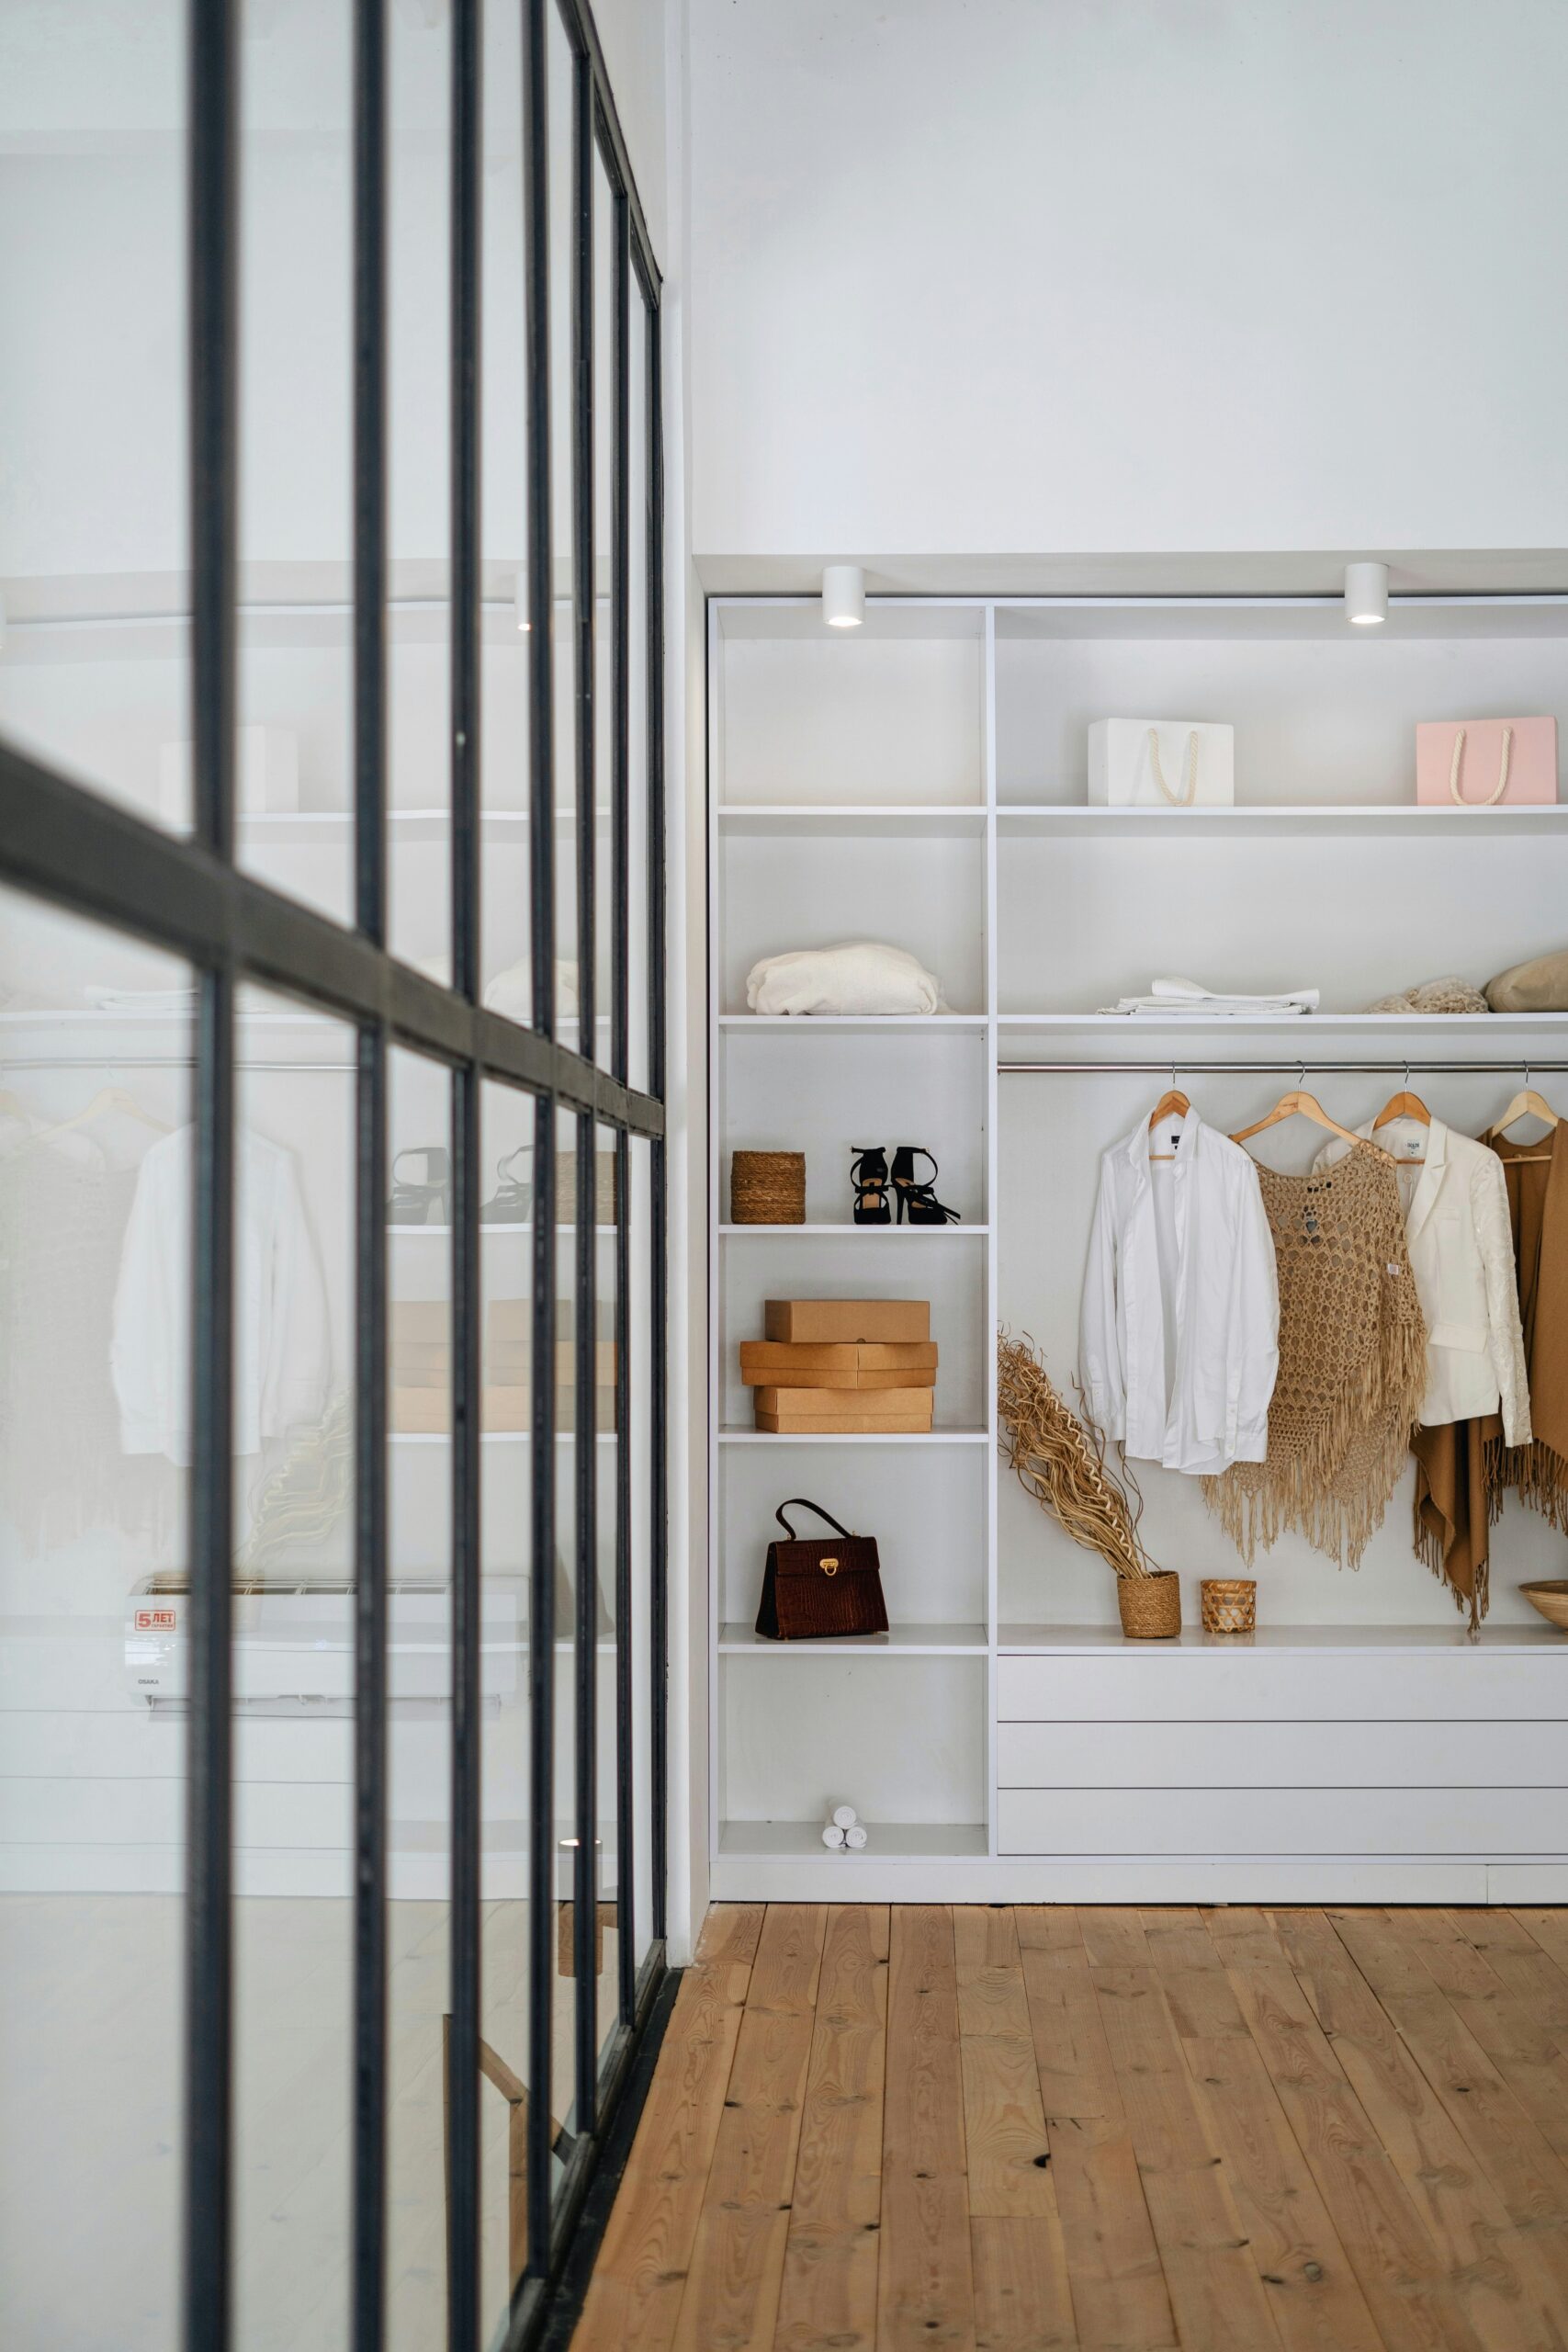
Finally, let’s talk about organization and storage. A cluttered home can feel chaotic and overwhelming, so it’s important to find creative solutions to keep your belongings neat and tidy. From DIY storage bins made from recycled materials to built-in shelving units, there are endless possibilities when it comes to maximizing your space. And don’t forget about the power of decluttering – getting rid of items that no longer serve a purpose will not only free up space but also create a more peaceful and harmonious environment.
So, whether you’re looking to give your living room a makeover, spruce up your outdoor space, or simply get organized, this blog post has got you covered. Get ready to unleash your creativity and embark on a journey of DIY projects and home improvement. Your dream home is just a few projects away!
Not only is repurposing furniture a great way to save money, but it also allows you to unleash your creativity and add a personal touch to your home decor. With a little bit of imagination and some DIY skills, you can transform old and worn-out pieces into stunning focal points that will make your space stand out.
When repurposing furniture, the possibilities are endless. You can turn an old dresser into a stylish TV stand by removing a few drawers and adding shelves for your electronics. Or, if you have a vintage suitcase lying around, you can transform it into a unique and functional coffee table by adding some legs and a glass top.
Another popular trend in repurposing furniture is upcycling. This involves taking old items and giving them a new purpose. For example, an old ladder can be transformed into a trendy bookshelf, or an antique door can be turned into a charming headboard for your bed.
Repurposing furniture is not only a great way to add character to your home, but it is also an eco-friendly option. By reusing and refurbishing old pieces, you are reducing waste and contributing to a more sustainable lifestyle. Plus, repurposed furniture often has a unique charm and history that cannot be replicated with store-bought items.
So, before you toss out that old piece of furniture, take a moment to consider how it could be repurposed. With a little bit of time and effort, you can transform it into something beautiful and functional that will bring joy to your home for years to come.
2. Creating a Gallery Wall
A gallery wall is a fantastic way to add personality and style to any room. Gather your favorite photos, artwork, and prints, and arrange them in a visually pleasing way on a large wall. Mix and match different frame styles and sizes for an eclectic look, or keep it uniform for a more minimalist aesthetic. Not only will a gallery wall make a statement, but it will also provide a great conversation starter for guests.
When creating a gallery wall, it’s important to consider the layout and composition. Start by selecting a focal point, such as a larger piece of artwork or a family photo, and build around it. Arrange the other pieces around the focal point, keeping in mind the overall balance and symmetry of the wall. You can play with different arrangements, such as a grid pattern, a staggered layout, or even a salon-style arrangement with overlapping frames.
Before hanging your artwork, it’s a good idea to lay out the arrangement on the floor first. This will allow you to experiment with different configurations and make adjustments without making unnecessary holes in the wall. Once you’re satisfied with the layout, take measurements and mark the placement of each piece on the wall using painter’s tape or sticky notes.
When it comes to hanging your artwork, there are a few options to consider. Traditional picture hooks and nails work well for smaller frames, while larger and heavier pieces may require wall anchors or even a French cleat system for added stability. Make sure to use a level to ensure that each piece is straight and aligned with the others.
As you hang your artwork, consider the spacing between each piece. You can create a cohesive look by leaving equal spacing between frames, or you can experiment with different distances for a more dynamic and layered effect. Don’t be afraid to mix in other decorative elements, such as mirrors, wall sconces, or even small shelves to add depth and interest to your gallery wall.
Once your gallery wall is complete, step back and admire your handiwork. The wall will now serve as a reflection of your personal style and taste, showcasing your favorite memories and artistic expressions. It will become a focal point in the room, drawing the eye and creating a sense of visual interest and intrigue. Whether you choose to create a gallery wall in your living room, bedroom, or hallway, it is sure to transform the space and make it uniquely yours.
3. Building a Bookshelf
If you’re in need of some extra storage space or want to showcase your book collection, building a bookshelf is a rewarding DIY project. You can customize the design to fit your space and style, whether it’s a sleek modern unit or a rustic wooden shelf. Don’t be afraid to get creative and add unique features like built-in lighting or a ladder for those hard-to-reach books.
Before you start building, it’s important to plan out your bookshelf. Consider the dimensions of the space where you want to place it and take accurate measurements. This will help you determine the size and shape of the bookshelf you want to build. Think about the number of shelves you need and the height between each one. You might also want to consider whether you want adjustable shelves, which can be helpful if you have books of different sizes.
Once you have your design in mind, gather all the necessary materials and tools. This may include wood boards, screws, a saw, drill, sandpaper, and paint or stain if you want to finish the bookshelf. Make sure to choose high-quality materials that are sturdy and durable, especially if you plan on storing heavy books.
Next, it’s time to start building. Begin by cutting the wood boards to the desired length and width according to your measurements. Use a saw to make precise cuts, and then sand the edges to ensure a smooth finish. Assemble the shelves by attaching the boards together using screws or other appropriate fasteners.
If you want to add some extra flair to your bookshelf, consider incorporating unique features. For example, you could install built-in lighting that illuminates the shelves and adds a cozy ambiance to your reading nook. Another option is to add a ladder that slides along a rail, allowing you to easily access books on higher shelves.
Once the bookshelf is assembled, it’s time to finish it. You can choose to paint or stain the wood to match your existing decor or leave it natural for a more rustic look. Apply multiple coats of paint or stain, allowing each coat to dry before applying the next. This will ensure a smooth and even finish.
Finally, carefully place your books on the shelves, arranging them in a way that is aesthetically pleasing and functional. Consider organizing them by genre, author, or color for a visually appealing display. You can also add decorative items such as plants, picture frames, or bookends to personalize your bookshelf.
Building a bookshelf is not only a practical solution for organizing your books, but it can also be a fun and fulfilling project. With careful planning, attention to detail, and a touch of creativity, you can create a beautiful and functional bookshelf that will be the centerpiece of your home library or reading corner.
4. Installing a Backsplash
A backsplash can instantly elevate the look of your kitchen or bathroom. With a wide variety of materials to choose from, such as tile, glass, or even reclaimed wood, you can create a focal point that ties the whole room together. Installing a backsplash may require some basic DIY skills, but the end result is well worth the effort.
Before you begin installing a backsplash, it’s important to measure the area accurately. This will ensure that you purchase the correct amount of materials and avoid any unnecessary wastage. Once you have the measurements, you can start exploring different design options. If you have a modern kitchen, sleek glass tiles can add a touch of elegance. For a rustic look, consider using subway tiles or reclaimed wood. The choice of material will depend on your personal style and the overall aesthetic of the room.
Once you have chosen the material, it’s time to prepare the surface for installation. If you are installing a backsplash in your kitchen, make sure to clean the wall thoroughly to remove any grease or dirt. Use a degreaser and a sponge to scrub the surface, and then wipe it down with a clean cloth. If you are installing a backsplash in your bathroom, make sure to remove any existing wallpaper or peeling paint.
Next, you will need to apply a thin layer of adhesive to the wall. This will help the tiles or other materials adhere to the surface. Use a trowel to spread the adhesive evenly, making sure to cover the entire area where the backsplash will be installed. Once the adhesive is applied, you can start placing the tiles or other materials. Make sure to press them firmly into the adhesive to ensure a strong bond.
As you work, it’s important to take your time and pay attention to detail. Make sure the tiles are aligned properly and that there are no gaps between them. If you are using a material like reclaimed wood, make sure to sand it down and apply a sealant to protect it from moisture and stains. Once all the tiles or materials are in place, allow the adhesive to dry according to the manufacturer’s instructions.
After the adhesive has dried, it’s time to grout the backsplash. Grout not only helps to hold the tiles or materials together but also adds a finished look to the installation. Choose a grout color that complements the backsplash and the overall design of the room. Mix the grout according to the manufacturer’s instructions and apply it to the backsplash using a grout float. Make sure to fill in all the gaps between the tiles or materials and wipe away any excess grout with a damp sponge.
Finally, after the grout has dried, it’s important to seal the backsplash to protect it from stains and moisture. Apply a clear sealant over the grout and the tiles or materials, following the manufacturer’s instructions. This will help to keep your backsplash looking fresh and new for years to come.
Installing a backsplash is a rewarding DIY project that can transform the look of your kitchen or bathroom. With careful planning and attention to detail, you can create a stunning focal point that adds both style and functionality to your space.
5. Creating a Vertical Garden
If you have limited outdoor space or want to bring some greenery indoors, a vertical garden is the perfect solution. You can use a variety of planters, hanging baskets, or even repurpose old pallets to create a living wall. Not only will it add visual interest to your home, but it will also improve air quality and create a calming atmosphere.
Vertical gardens, also known as green walls or living walls, have gained popularity in recent years due to their numerous benefits. These gardens are not only aesthetically pleasing but also offer a practical solution for those who lack space for traditional gardens. Whether you live in a small apartment or have a tiny backyard, a vertical garden allows you to make the most of your available space.
One of the advantages of vertical gardens is their ability to improve air quality. Plants naturally filter the air by absorbing harmful pollutants and releasing oxygen. By incorporating a variety of plants in your vertical garden, you can create a mini ecosystem that purifies the air around you. This is especially beneficial for those living in urban areas where air pollution is a concern.
In addition to the environmental benefits, vertical gardens also offer a unique way to add visual interest to your home. The vertical arrangement of plants creates a striking focal point that can transform any space into a lush oasis. You can choose from a wide range of plants with different colors, textures, and growth habits to create a personalized and eye-catching display. Whether you prefer vibrant flowers, cascading vines, or leafy greens, there is a plant that will suit your taste and style.
Creating a vertical garden is also a great way to unleash your creativity and showcase your DIY skills. There are countless ways to design and construct a living wall, allowing you to customize it to fit your space and personal preferences. You can experiment with different plant arrangements, mix and match containers, and even incorporate decorative elements such as fairy lights or trellises. The possibilities are endless, and the process of planning and building your vertical garden can be a fun and rewarding experience.
Furthermore, having a vertical garden can have a positive impact on your mental well-being. Studies have shown that being surrounded by nature, even in a small capacity, can reduce stress levels and improve overall mood. The sight of greenery and the act of nurturing plants can create a sense of calm and tranquility, making your home a more relaxing and peaceful environment.
In conclusion, creating a vertical garden is a fantastic way to maximize your space, improve air quality, and enhance the visual appeal of your home. Whether you choose to create a small herb garden in your kitchen or a sprawling living wall in your backyard, the benefits of vertical gardening are undeniable. So why not embark on this green journey and bring a touch of nature into your living space?
6. Upcycling Mason Jars
Mason jars are incredibly versatile and can be used in a multitude of ways to enhance your home decor. Paint them in your favorite colors, add some fairy lights, and use them as unique candle holders. Alternatively, transform them into stylish storage containers for your bathroom or kitchen essentials. The possibilities are endless, and you’ll have fun experimenting with different ideas.
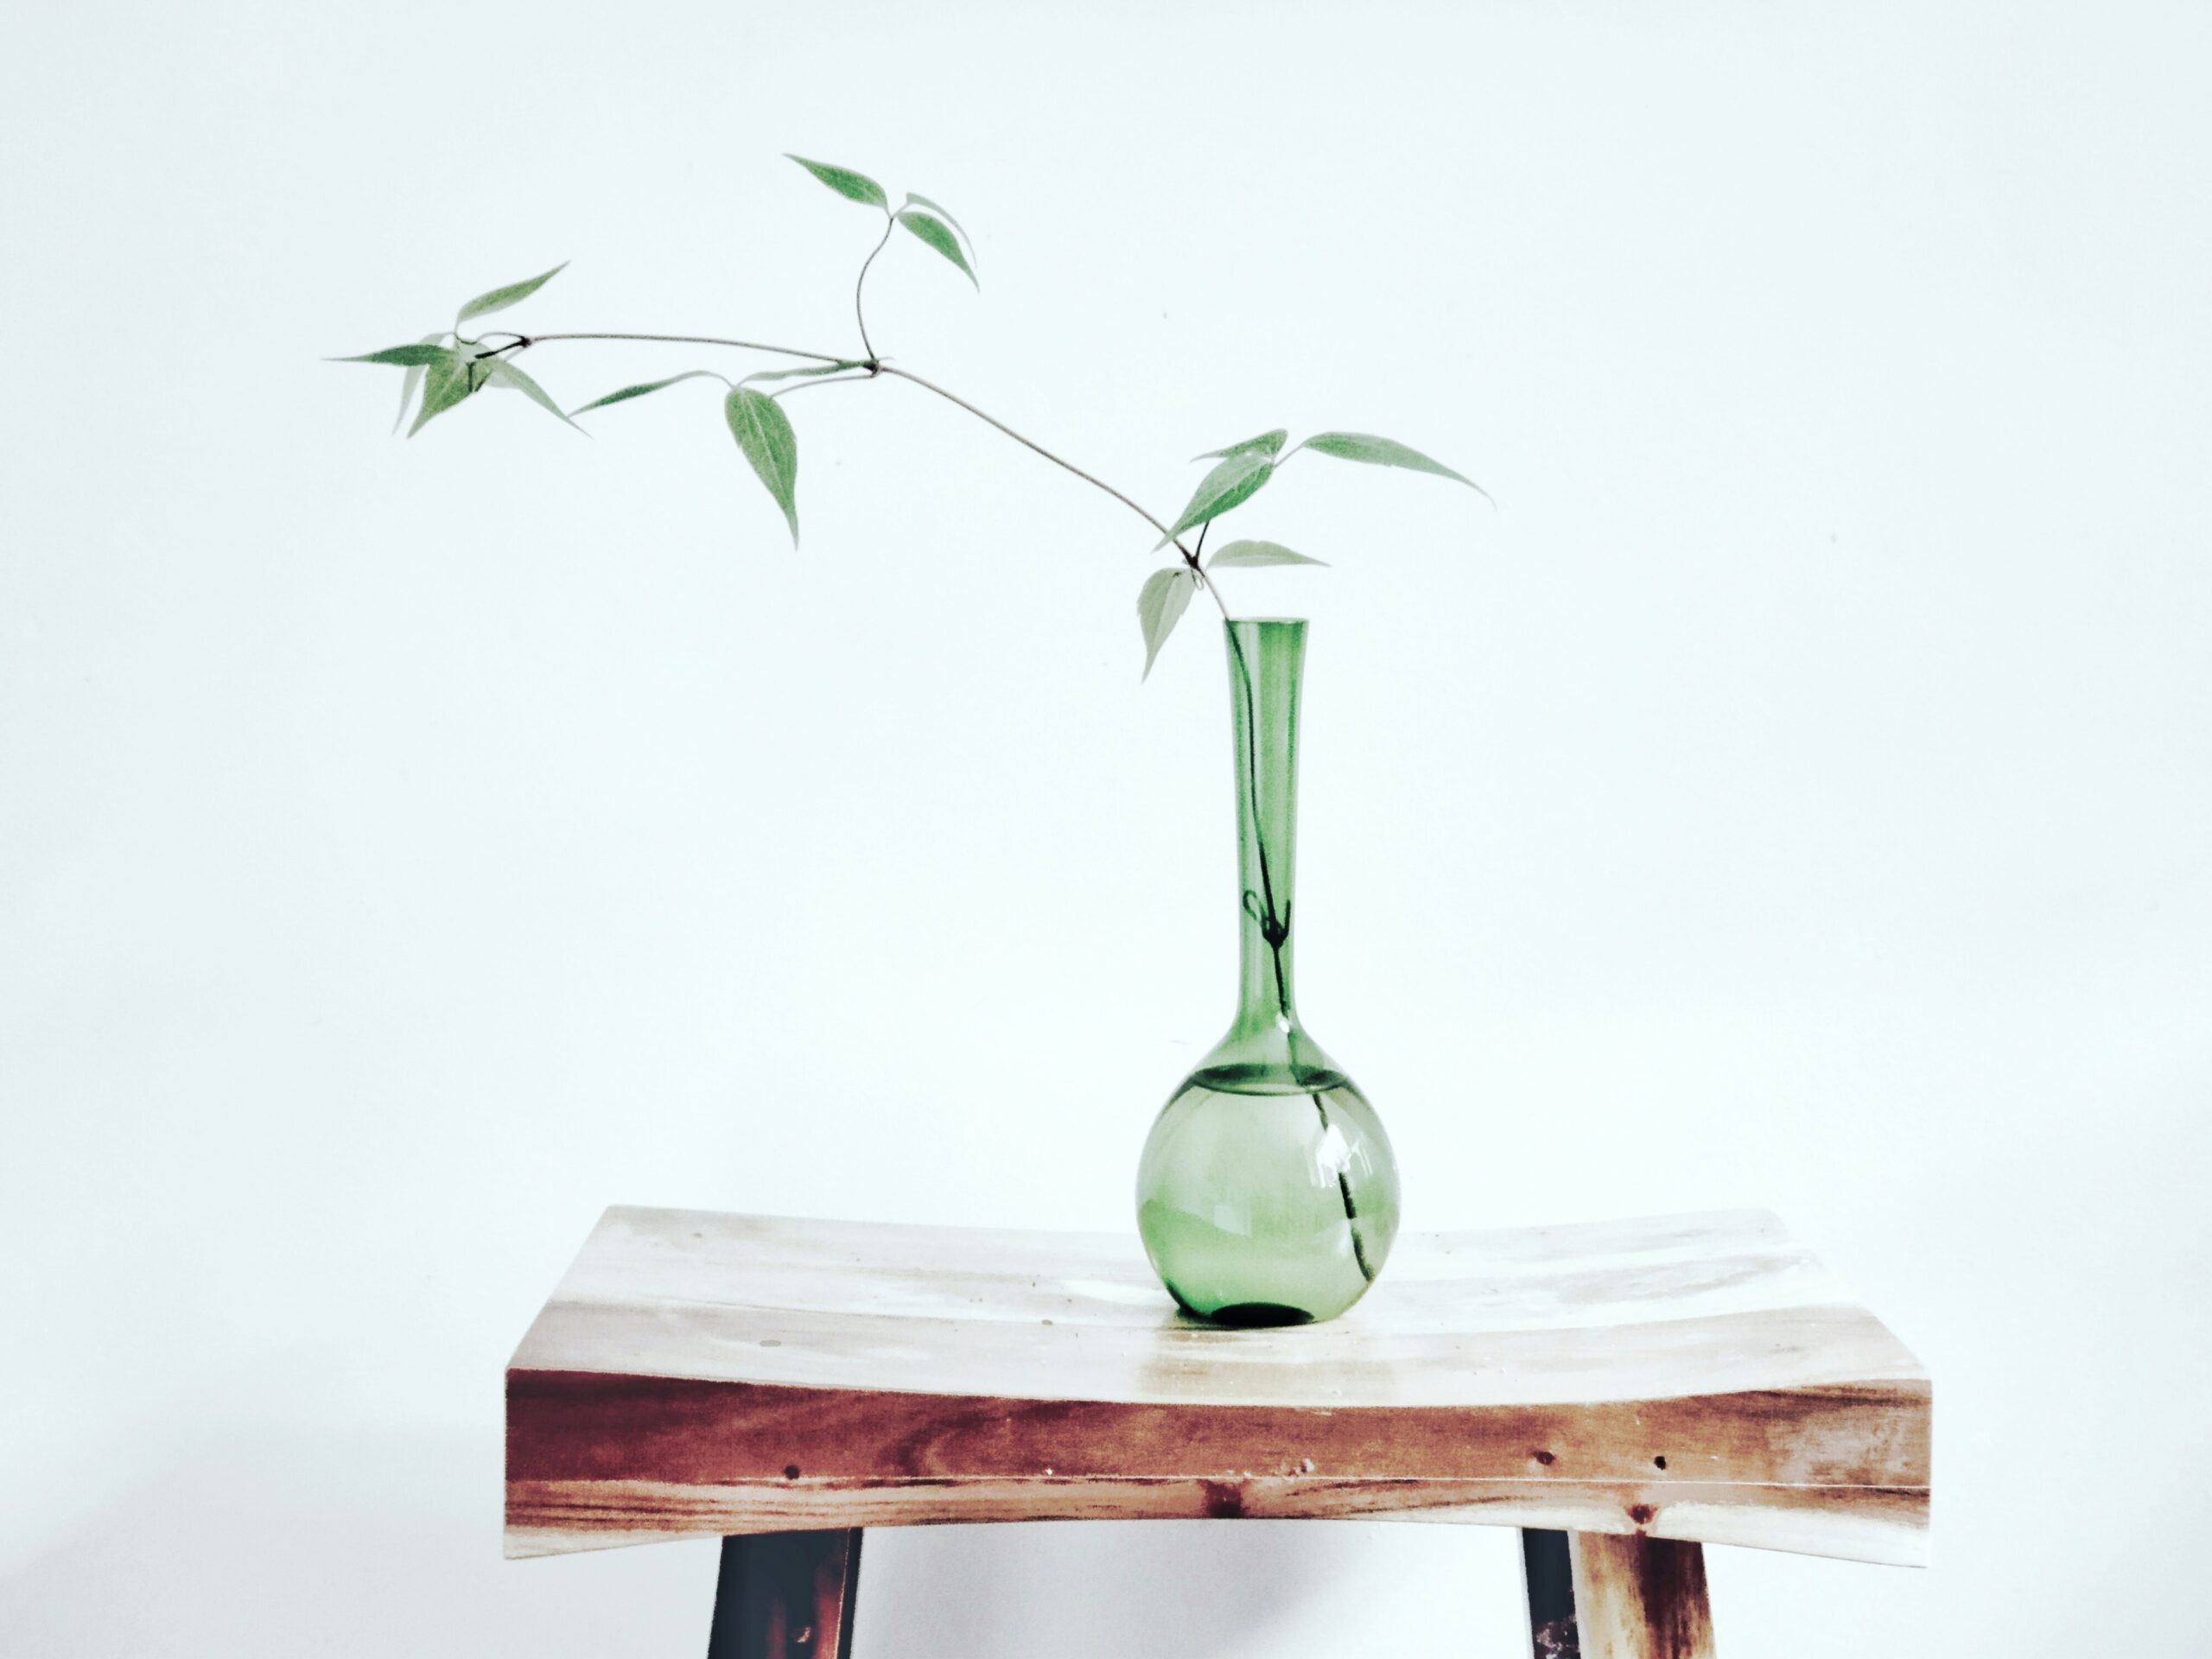
Furthermore, mason jars can also be upcycled into beautiful vases for fresh flowers. Simply wrap some twine or ribbon around the neck of the jar and fill it with water to create a rustic centerpiece for your dining table or mantelpiece. You can also get creative with the contents of the jar by adding decorative stones, shells, or even sand to create a beach-themed display.
In addition to their decorative uses, mason jars can also be repurposed for practical purposes. For example, you can turn them into a portable herb garden by attaching them to a wooden board and filling them with soil and your favorite herbs. This not only adds a touch of greenery to your kitchen but also provides you with fresh herbs for cooking.
If you’re feeling particularly crafty, you can even transform mason jars into quirky light fixtures. Simply drill a hole in the bottom of the jar, thread a pendant light cord through it, and hang it from the ceiling. This creates a unique lighting option that will surely be a conversation starter in any room.
Another creative way to upcycle mason jars is by turning them into personalized gifts. Fill them with homemade cookies, bath salts, or small trinkets, and decorate the lid with a personalized label or ribbon. These thoughtful and eco-friendly gifts are perfect for birthdays, holidays, or any special occasion.
In conclusion, mason jars are not just for canning anymore. With a little creativity and imagination, they can be transformed into stunning home decor pieces, practical storage solutions, and personalized gifts. So, don’t throw away those empty jars – upcycle them and let your creativity shine!
7. Installing a Smart Home System
Take your home improvement projects to the next level by installing a smart home system. From controlling your lighting and temperature to managing your security cameras and appliances, a smart home system offers convenience and efficiency. Start small with a few smart devices and gradually expand as you become more familiar with the technology.
When it comes to installing a smart home system, there are a few key steps to consider. First, you’ll need to choose a hub or central control system that will serve as the brain of your smart home. This hub will connect all of your devices and allow you to control them from a single interface, whether it’s a smartphone app or a voice-activated assistant.
Next, you’ll need to select the specific devices you want to include in your smart home system. There are a wide variety of options available, ranging from smart light bulbs and thermostats to smart locks and security cameras. Consider your specific needs and priorities when choosing which devices to invest in.
Once you have your hub and devices, it’s time to start the installation process. Depending on the complexity of your system, you may need to hire a professional to handle the installation. However, many smart devices are designed for easy DIY installation, with step-by-step instructions and user-friendly interfaces.
When installing your smart home system, it’s important to consider the placement of your devices. For example, if you’re installing smart light bulbs, you’ll want to strategically place them throughout your home to ensure optimal coverage and functionality. Similarly, if you’re installing security cameras, you’ll need to consider the best locations for capturing footage and monitoring your property.
Once your devices are installed, you’ll need to connect them to your hub or control system. This typically involves following the manufacturer’s instructions for pairing each device with the hub. Once connected, you can customize your settings and preferences, such as creating schedules for your lights or setting up notifications for your security system.
As you become more comfortable with your smart home system, you can explore additional features and integrations. For example, you might consider connecting your system to a voice-activated assistant, such as Amazon Alexa or Google Assistant, to control your devices with simple voice commands. You can also explore options for integrating other smart technologies, such as smart speakers or smart appliances, to further enhance the functionality and convenience of your home.
Installing a smart home system is an investment that can greatly enhance your daily life. Not only does it offer convenience and efficiency, but it can also provide added security and peace of mind. With the right devices and careful installation, you can transform your home into a smart, connected space that meets all of your needs and preferences.
8. Building a Fire Pit
A fire pit is a fantastic addition to any outdoor space, providing a cozy gathering spot for family and friends. You can choose to build a traditional stone fire pit or get creative with alternative materials like metal or concrete. Don’t forget to add some comfortable seating and gather around the fire for memorable evenings under the stars.
Building a fire pit can be a rewarding DIY project that adds both functionality and aesthetic appeal to your outdoor area. Before you start, it’s important to consider the location and size of your fire pit. Ensure that it is positioned away from any flammable materials and at a safe distance from your home or any structures.
Once you have chosen the perfect spot, you can begin by marking the area where you want to build your fire pit. Use stakes and string to outline the shape and size of the pit. This will serve as a guide as you start digging.
Dig a hole that is approximately one foot deep and slightly wider than the desired size of your fire pit. This will provide a stable base for the pit and allow for proper airflow. Make sure to remove any rocks, roots, or debris from the hole to create a smooth surface.
Next, you can start building the walls of your fire pit. If you opt for a traditional stone fire pit, you can use bricks or natural stones to create a sturdy structure. Arrange the stones or bricks in a circular pattern, making sure to leave gaps for ventilation. Use a level to ensure that the walls are even and stable.
If you prefer a more modern look, you can consider using metal or concrete as alternative materials. Metal fire pits are often pre-fabricated and can be easily assembled. Concrete fire pits can be poured into molds or built using concrete blocks. Whichever material you choose, make sure it is heat-resistant and suitable for outdoor use.
Once the walls are in place, you can add a layer of gravel or sand to the bottom of the fire pit. This will help with drainage and provide a stable base for your fire. Finally, you can fill the pit with fire-resistant materials such as lava rocks or fire glass. These materials not only enhance the appearance of the fire pit but also help to distribute heat evenly.
To complete your fire pit area, consider adding some comfortable seating options. Adirondack chairs, outdoor sofas, or even a built-in bench can create a cozy atmosphere for gatherings around the fire. You can also add some decorative elements like string lights, potted plants, or a pergola to enhance the ambiance of the space.
Remember to always prioritize safety when using a fire pit. Keep a fire extinguisher nearby and never leave the fire unattended. Make sure to extinguish the fire completely before leaving the area. With proper care and maintenance, your fire pit will provide years of enjoyment and become a focal point of your outdoor living space.
9. Creating a Home Office
In today’s digital age, having a dedicated home office is becoming increasingly important. Find a quiet corner or spare room in your home and transform it into a functional workspace. Invest in a comfortable desk and chair, organize your supplies, and add some personal touches to make it an inspiring environment. A well-designed home office will boost your productivity and make working from home a breeze.
When setting up your home office, it’s important to consider the layout and design that will best suit your needs. Start by choosing a location that offers privacy and minimal distractions. This could be a spare bedroom, a converted attic, or even a corner of your living room. Once you have selected a space, measure the area to determine the size of desk and chair you will need.
Investing in a comfortable desk and chair is crucial for long hours of work. Look for ergonomic options that provide proper support for your back, neck, and arms. Adjustable height desks are also a great option as they allow you to switch between sitting and standing positions, promoting better posture and reducing the risk of back pain.
Organizing your supplies is another important aspect of creating a functional home office. Consider investing in storage solutions such as shelves, cabinets, or drawers to keep your files, books, and stationery neatly organized. Use desktop organizers or trays to keep pens, paper clips, and other small items within reach. A clutter-free workspace will not only improve your efficiency but also create a sense of calm and focus.
Adding personal touches to your home office can make it a more inspiring and inviting space. Hang artwork or motivational quotes on the walls to create a positive atmosphere. Include plants or flowers to bring a touch of nature indoors and improve air quality. Consider incorporating a comfortable reading nook or a cozy corner with a bean bag chair for short breaks or relaxation.
Lighting is another important factor to consider when designing your home office. Natural light is ideal, so try to position your desk near a window. If that’s not possible, invest in a good desk lamp that provides sufficient illumination without causing glare or eye strain. Consider using warm or cool-toned bulbs depending on your preference and the type of work you do.
Finally, don’t forget about the importance of technology in your home office setup. Ensure that you have a reliable internet connection and invest in a comfortable keyboard and mouse. Consider getting a second monitor if you need to work with multiple windows or applications simultaneously. Set up a designated area for your printer, scanner, or any other equipment you may need.
By creating a well-designed home office, you are setting yourself up for success in your remote work journey. It will not only enhance your productivity but also provide a dedicated space for you to focus and separate your work life from your personal life. Take the time to personalize your workspace and make it a reflection of your style and preferences. With a functional and inspiring home office, you’ll be able to tackle your work with ease and enjoy the benefits of working from the comfort of your own home.
10. Adding a Statement Ceiling
Don’t neglect the fifth wall in your home – the ceiling! Adding a statement ceiling can completely transform a room and give it a unique character. Consider painting it in a bold color, adding decorative molding, or even installing a unique wallpaper. This unexpected design element will surely impress your guests and make your home stand out.
When it comes to home decor, the ceiling is often overlooked. Many homeowners focus on the walls, furniture, and flooring, forgetting that the ceiling can be a powerful design element. However, by adding a statement ceiling, you can create a truly stunning space that is sure to leave a lasting impression.
One way to make a statement with your ceiling is by painting it in a bold color. While most people opt for neutral shades on their ceilings, a vibrant hue can add a pop of color and create a sense of drama in the room. Whether you choose a deep navy blue, a rich emerald green, or a striking red, a bold ceiling color can instantly transform the space and make it feel more dynamic.
Another option for creating a statement ceiling is by adding decorative molding. Intricate crown molding, coffered ceilings, or even simple beams can add architectural interest and elegance to any room. These details not only draw the eye upward but also give the space a sense of grandeur and sophistication. Whether your home has a traditional or modern aesthetic, there are plenty of molding options to suit your style and enhance the overall design.
If you’re looking for a more unconventional approach, consider installing a unique wallpaper on your ceiling. This unexpected design choice can add a touch of whimsy and create a focal point in the room. From bold geometric patterns to delicate floral motifs, there are countless wallpaper options to choose from that can transform your ceiling into a work of art.
When designing a statement ceiling, it’s important to consider the overall aesthetic of the room. The ceiling should complement the rest of the space and enhance its style rather than overpowering it. If the room already has a lot of patterns and textures, a simple painted ceiling might be the best choice. On the other hand, if the room is more minimalistic, a decorative molding or a unique wallpaper can add the perfect touch of visual interest.
In conclusion, don’t underestimate the power of a statement ceiling. By adding a bold color, decorative molding, or unique wallpaper, you can elevate the design of any room and create a truly memorable space. So, the next time you’re planning a home renovation or interior design project, don’t forget to look up and consider the potential of your fifth wall – the ceiling.


