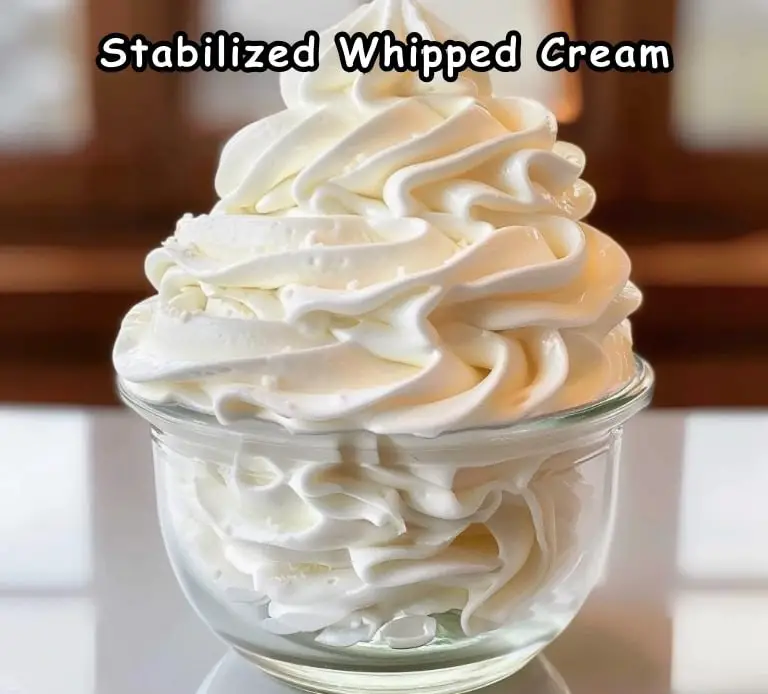
🧁 Stabilized whipped cream is a versatile and essential ingredient in the world of desserts. Whether you are frosting a cake, filling a pastry, or simply topping off a slice of pie, stabilized whipped cream provides a rich, creamy texture that holds its shape beautifully. This article will guide you through the process of making stabilized whipped cream and provide tips and variations to enhance your dessert creations.
Ingredients You’ll Need
To make stabilized whipped cream, you’ll need the following ingredients:
- 2 ounces cream cheese, softened: Adds stability and a subtle tangy flavor to the whipped cream.
- ½ cup (100 g) granulated sugar: Sweetens the whipped cream and helps to stabilize it.
- 2 cups (476 g) heavy cream: The base of the whipped cream, providing richness and volume.
- ½ teaspoon vanilla extract: Adds a delightful vanilla flavor.
- 1 pinch kosher salt: Enhances the overall flavor and balances the sweetness.
Step-by-Step Instructions
Preparing the Equipment
- Chill the Bowl and Whisk: Before starting, place the bowl and whisk attachment from your stand mixer into the freezer to chill for about 15 minutes. Starting with a cold bowl will help the cream whip up faster and achieve more volume. If using a handheld mixer, chill a large mixing bowl and the beaters in the same way.
Making the Stabilized Whipped Cream
- Combine Cream Cheese and Sugar: Once the bowl is chilled, add the softened cream cheese and granulated sugar. Mix on medium-high speed until fully combined and no lumps remain. The cream cheese should be smooth and well-integrated with the sugar.
- Add the Heavy Cream: With the mixer off, pour in the heavy cream. Resume mixing on medium speed. This step is crucial as it allows the cream cheese to fully incorporate into the cream, ensuring a smooth texture.
- Achieve Soft Peaks: Continue mixing until soft peaks form. Soft peaks are when the whipped cream peaks droop slightly when the whisk is lifted. At this stage, the cream is partially whipped and beginning to hold its shape.
- Incorporate All Ingredients: Stop the mixer and use a rubber spatula to scrape the bottom of the bowl. This ensures all the cream cheese is fully incorporated into the mixture, preventing any lumps.
- Mix to Stiff Peaks: Resume mixing on medium speed until stiff peaks form. Stiff peaks are when the whipped cream peaks stand straight up and hold their shape firmly. Be careful not to overmix, as this can cause the cream to become grainy.
- Add Vanilla and Salt: Finally, add the vanilla extract and a pinch of kosher salt. Mix on low speed just until combined. Overmixing at this stage can deflate the whipped cream.
Tips for Perfect Stabilized Whipped Cream
- Start with Cold Equipment: Chilling the bowl and whisk helps the cream whip up faster and achieve more volume.
- Use Softened Cream Cheese: Ensure the cream cheese is fully softened to prevent lumps and achieve a smooth consistency.
- Don’t Overmix: Overmixing can cause the whipped cream to become grainy. Stop mixing as soon as stiff peaks form.
- Adjust Sweetness: You can adjust the amount of sugar to suit your taste preferences.
Variations to Try
- Chocolate Whipped Cream: Add 2 tablespoons of cocoa powder to the cream cheese and sugar mixture for a rich chocolate flavor.
- Citrus Whipped Cream: Add 1 tablespoon of lemon or orange zest along with the vanilla extract for a refreshing citrus twist.
- Spiced Whipped Cream: Add a pinch of cinnamon or nutmeg for a warm, spiced flavor that pairs well with fall desserts.
Serving Suggestions
Stabilized whipped cream is incredibly versatile and can be used in various ways:
- As a Frosting: Use stabilized whipped cream to frost cakes and cupcakes. Its firm texture allows it to hold up well and look beautiful.
- As a Filling: Fill pastries, eclairs, and cream puffs with stabilized whipped cream for a delicious and creamy center.
- As a Topping: Dollop on top of pies, hot cocoa, or fresh fruit for an elegant and tasty garnish.
Nutritional Information
For those mindful of their dietary intake, here’s a brief nutritional breakdown per serving (based on an approximate serving size of 2 tablespoons):
- Calories: 100 kcal
- Carbohydrates: 2g
- Sugars: 2g
- Protein: 1g
- Fat: 10g
- Fiber: 0g
The Joy of Making Whipped Cream
Making stabilized whipped cream is not just about preparing an ingredient; it’s about creating a component that enhances the overall dessert experience. The process of whipping the cream to the perfect consistency, incorporating the cream cheese for stability, and adding just the right amount of sweetness and flavor is both therapeutic and rewarding.
Hosting with Stabilized Whipped Cream
Stabilized whipped cream is perfect for parties and gatherings. Here are a few tips to make it a hit at your next event:
- Presentation: Pipe the whipped cream using a decorative tip for an elegant presentation on cakes and cupcakes.
- Personalize: You can personalize the whipped cream with different flavors or colors to match the theme of your party. For example, adding a few drops of food coloring can make it more festive for a birthday party.
- Pairing Drinks: Consider serving desserts topped with stabilized whipped cream alongside a selection of beverages that complement their flavors, such as coffee, tea, or hot chocolate.
Making Memories with Family and Friends
Stabilized whipped cream is not just about enjoying a delicious topping; it’s also about making memories with family and friends. Whether you’re making it with your kids, serving it at a gathering, or enjoying it as a simple dessert enhancement, it’s a recipe that brings people together.
Storing and Reheating
- In the Refrigerator: Store any leftover stabilized whipped cream in an airtight container in the refrigerator for up to a week. The whipped cream will hold its shape and remain stable.
- Freezing: You can freeze stabilized whipped cream for up to a month. Thaw it in the refrigerator before using, and give it a quick whip to restore its texture if needed.
Tips for Success
- Softening the Cream Cheese: If you’re in a hurry, soften the cream cheese by microwaving it for 10-15 seconds.
- Mixing by Hand: If you don’t have a stand mixer, you can mix the whipped cream by hand using a whisk. Just make sure to blend thoroughly to achieve a smooth texture.
- Adjusting Sweetness: If you prefer a less sweet whipped cream, you can reduce the amount of granulated sugar in the recipe.
The Versatility of Stabilized Whipped Cream
The simplicity and versatility of stabilized whipped cream make it a go-to recipe for many occasions. You can easily customize it with your favorite flavors and garnishes, making it suitable for everything from casual family nights to festive celebrations.
Conclusion
Stabilized whipped cream is a sweet, creamy, and versatile ingredient that’s incredibly easy to make and even easier to enjoy. With just a few simple ingredients, you can whip up a delicious topping that’s perfect for any dessert. Whether you’re using it to frost cakes, fill pastries, or top off a slice of pie, this whipped cream is sure to be a hit.
The combination of cream cheese, heavy cream, sugar, and vanilla creates a topping that’s light, refreshing, and irresistibly delicious. The ease of preparation and the delightful flavors make stabilized whipped cream a must-try recipe.
Enjoy making and sharing this delicious stabilized whipped cream, and savor every creamy, dreamy bite. Happy baking!


