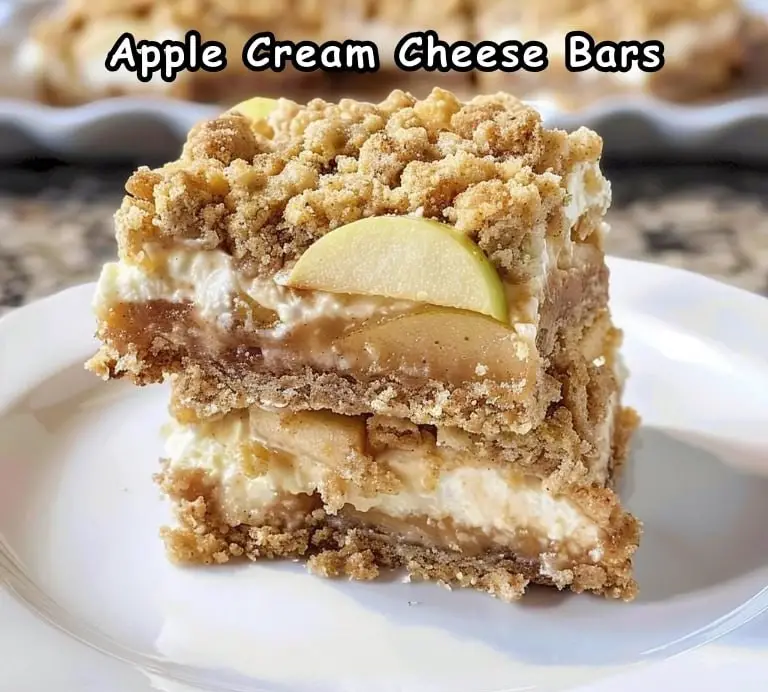
Apple Cream Cheese Bars are the perfect combination of sweet, tart apples and creamy, tangy cream cheese, all brought together with a buttery oatmeal crumble and a drizzle of caramel sauce. These dessert bars are a delightful treat for any occasion, especially during the fall when apples are in season. The layers of flavors and textures make this dessert a standout, whether you’re serving it at a family gathering, a potluck, or simply indulging in a special treat at home.
In this comprehensive guide, we will walk you through each step of creating these delicious Apple Cream Cheese Bars. From preparing the crust and cream cheese mixture to assembling the apple filling and crumble topping, you’ll find all the tips and tricks needed to ensure your bars turn out perfectly every time. Whether you’re an experienced baker or a novice in the kitchen, this recipe is straightforward and rewarding, promising a beautiful and tasty treat.
Ingredients Breakdown
To achieve the perfect Apple Cream Cheese Bars, it’s essential to use high-quality ingredients and understand their roles in the recipe.
Main Ingredients:
- Crust:
- 3 cups (375 g) all-purpose flour: Provides structure to the crust.
- 2 cups (400 g) packed brown sugar: Adds sweetness and a caramel-like flavor.
- 1 cup (80 g) quick-cooking oats: Contributes to the texture and adds a slight chewiness.
- 2 teaspoons ground cinnamon: Adds warmth and spice.
- ½ teaspoon baking powder: Helps the crust rise slightly.
- ½ teaspoon baking soda: Works with the baking powder to help the crust rise.
- 1½ cups (3 sticks / 340 g) unsalted butter, melted: Binds the crust ingredients and adds richness.
- Cream Cheese Mixture:
- 2 packages (8 ounces each) cream cheese, room temperature: Provides a creamy, tangy layer.
- ½ cup (100 g) granulated sugar: Sweetens the cream cheese layer.
- 1 teaspoon vanilla extract: Enhances the flavor.
- 2 large eggs, room temperature: Adds richness and helps set the cream cheese layer.
- Apple Mixture:
- 4 large Granny Smith apples, peeled, cored, and thinly sliced: Adds a tart, fruity layer.
- 2 tablespoons all-purpose flour: Helps thicken the apple mixture.
- 2 tablespoons light brown sugar, packed: Adds sweetness and a caramel flavor.
- 1 teaspoon ground cinnamon: Complements the apples with warmth and spice.
- Caramel Topping: Adds a finishing touch of sweetness and indulgence.
Step-by-Step Instructions
Preparing the Crust
- Preheat the Oven: Preheat your oven to 350°F (175°C). Spray a 9×13-inch baking dish with nonstick cooking spray and set aside.
- Mix Dry Ingredients: In a large bowl, combine 3 cups of all-purpose flour, 2 cups of packed brown sugar, 1 cup of quick-cooking oats, 2 teaspoons of ground cinnamon, ½ teaspoon of baking powder, and ½ teaspoon of baking soda. Mix well to ensure the ingredients are evenly distributed.
- Add Melted Butter: Pour 1½ cups of melted unsalted butter over the dry mixture. Mix until the ingredients are well combined and crumbly.
- Reserve Topping: Measure out 2 cups of the mixture and set aside to reserve for the topping.
- Form the Crust: Pour the remaining mixture into the prepared baking dish. Press firmly to form an even layer covering the bottom of the dish.
- Bake the Crust: Bake the crust in the preheated oven for 18-20 minutes, or until golden brown. Remove from the oven and set aside to cool slightly while you prepare the other layers.
Making the Cream Cheese Mixture
- Cream Cheese and Sugar: In a large bowl, combine 2 packages of room temperature cream cheese, ½ cup of granulated sugar, and 1 teaspoon of vanilla extract. Use a hand mixer on medium speed to beat the mixture until smooth and creamy.
- Add Eggs: With the mixer on low, add 2 large eggs, one at a time, beating until fully incorporated. Set the cream cheese mixture aside.
Preparing the Apple Mixture
- Slice the Apples: Peel, core, and thinly slice 4 large Granny Smith apples. Place the sliced apples in a large bowl.
- Mix with Dry Ingredients: Add 2 tablespoons of all-purpose flour, 2 tablespoons of packed light brown sugar, and 1 teaspoon of ground cinnamon to the apples. Toss to coat the apple slices evenly.
Assembling the Bars
- Layer the Apples: Arrange the apple mixture evenly over the baked crust.
- Add Cream Cheese Layer: Spread the cream cheese mixture evenly over the top of the apple layer.
- Top with Crumble: Crumble the reserved oat mixture evenly over the cream cheese layer.
- Bake: Bake the assembled bars in the preheated oven for 40-45 minutes, or until the top is golden brown and the cream cheese layer is set.
- Cool and Chill: Let the bars come to room temperature, then place them in the refrigerator to chill for at least 2 hours before cutting into squares.
Adding the Caramel Topping
- Drizzle Caramel: When you’re ready to serve, drizzle caramel topping over the bars for an added touch of sweetness and indulgence.
Serving Suggestions
Apple Cream Cheese Bars are a versatile dessert that can be enjoyed in various settings. Here are a few serving suggestions to make your dessert experience even more delightful:
- Classic Presentation: Serve squares of the bars on decorative plates, allowing the layers to shine.
- Add Whipped Cream: Top each square with a dollop of whipped cream for an extra creamy touch.
- Pair with Ice Cream: Serve the bars with a scoop of vanilla ice cream for a delightful contrast of temperatures and textures.
- Garnish with Fresh Fruit: Add a few slices of fresh apple or a sprinkle of cinnamon on top for a beautiful presentation.
- Holiday Touch: Decorate the bars with festive sprinkles or edible glitter for special occasions and holidays.
Tips for Perfect Apple Cream Cheese Bars
- Room Temperature Ingredients: Ensure that your butter, eggs, and cream cheese are at room temperature before you begin. This helps them blend more smoothly and results in a better texture.
- Proper Mixing: Mix the crust ingredients until crumbly to ensure a good texture and structure for the base and topping.
- Even Layers: Spread each layer evenly in the baking dish to ensure consistent flavors and textures in every bite.
- Check for Doneness: Bake the bars until the top is golden brown and the cream cheese layer is set. Insert a toothpick into the center to check for doneness; it should come out clean.
- Cool Completely: Allow the bars to cool completely before chilling them in the refrigerator. This helps the layers set and makes it easier to cut clean squares.
Customizing Your Apple Cream Cheese Bars
One of the joys of making homemade desserts is the ability to customize them to your taste. Here are a few ideas for variations and additions:
- Different Fruits: Substitute or combine the apples with other fruits like pears, peaches, or berries for a different flavor profile.
- Nutty Addition: Fold in chopped nuts, such as walnuts or pecans, into the crumble mixture for added crunch and flavor.
- Spiced Up: Add a pinch of nutmeg or cloves to the apple mixture for a warm, spiced flavor.
- Citrus Twist: Add some lemon or orange zest to the cream cheese mixture for a fresh, citrusy kick.
- Healthy Twist: Use whole wheat flour or a sugar substitute for a slightly healthier version.
Nutritional Information
For those mindful of their dietary intake, here’s a basic nutritional breakdown per serving (approximately 1 square):
- Calories: 756kcal
Keep in mind that the nutritional values may vary based on the exact quantities and brands of ingredients used.
Conclusion
Apple Cream Cheese Bars are a delightful and easy-to-make dessert that combines the tartness of apples with the creaminess of the cream cheese layer, all topped with a buttery crumble and a drizzle of caramel sauce. Perfect for any occasion, these bars are sure to become a favorite in your recipe collection.
By following the detailed steps and tips provided in this guide, you can create Apple Cream Cheese Bars that are perfect every time. Whether you’re making them for a family gathering, a holiday feast, or simply as a treat for yourself, these bars are sure to impress and satisfy.
So, the next time you’re in the mood for something sweet and indulgent, give this Apple Cream Cheese Bars recipe a try. Your taste buds will thank you, and you’ll have a delicious dessert to share with friends and family.
Happy baking!


