Introduction
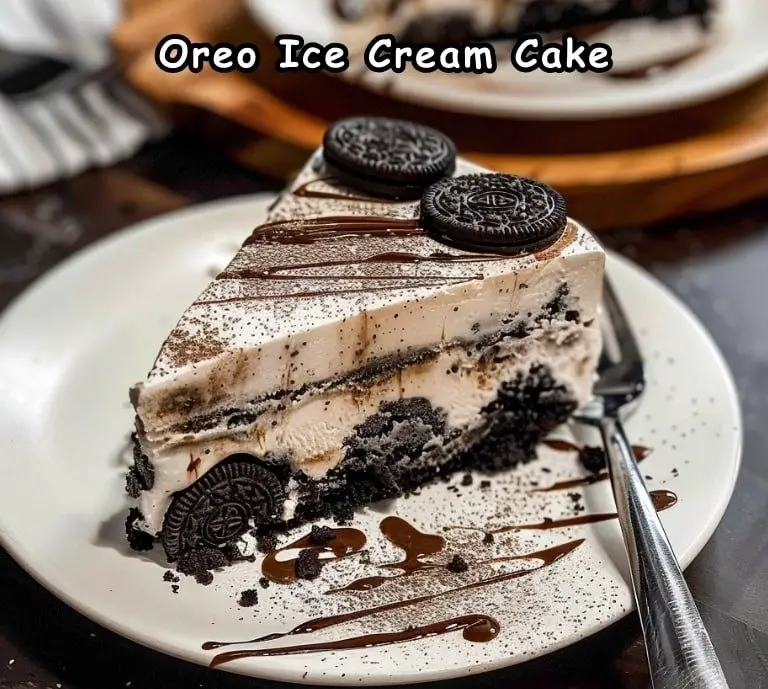
Ice cream desserts are a hit year-round, but there’s something particularly indulgent about a homemade ice cream cake. This Cookies and Cream Ice Cream Cake combines the classic flavors of Oreos, cookies and cream ice cream, and hot fudge, all topped with a light and fluffy layer of whipped topping. It’s a simple yet impressive dessert that’s perfect for birthday parties, family gatherings, or just treating yourself to something special. In this article, we’ll guide you through each step to create this delicious ice cream cake, ensuring it turns out perfectly every time.
Ingredients
To make this delectable Cookies and Cream Ice Cream Cake, you will need the following ingredients:
- 1 package of Oreos, crushed (see notes)
- 1/4 cup butter, melted
- 1/2 gallon cookies and cream ice cream, softened
- 16 oz jar of hot fudge, warmed
- 8 oz carton of whipped topping, thawed
Instructions
Step 1: Prepare the Oreo Crust
Crush the Oreos: Start by crushing the Oreos. You can do this by placing the cookies in a large zip-top bag and crushing them with a rolling pin, or you can pulse them in a food processor until they are finely ground. Reserve ½ cup of the crushed Oreos for the topping.
Combine with Butter: In a large bowl, combine the crushed Oreos (excluding the reserved portion) with the melted butter. Mix well until the crumbs are evenly coated with the butter. This mixture will form the base of your ice cream cake, providing a crunchy and flavorful crust.
Press into Pan: Grease a 9×13-inch pan with nonstick cooking spray. Press the Oreo mixture into the bottom of the pan, spreading it out evenly and pressing firmly to create a solid crust. Use the bottom of a measuring cup or a flat-bottomed glass to help press the crumbs down evenly.
Step 2: Add the Ice Cream Layer
Soften the Ice Cream: Allow the cookies and cream ice cream to soften at room temperature for about 10-15 minutes. You want it soft enough to spread easily but not completely melted.
Spread Over Crust: Once the ice cream is softened, spread it evenly over the Oreo crust in the pan. Use a spatula to smooth the top, ensuring the ice cream reaches all the edges and corners of the pan.
Freeze: Place the pan in the freezer for at least 2 hours, or until the ice cream is firm. This step is crucial to ensure that the layers set properly and the cake holds its shape.
Step 3: Add the Hot Fudge Layer
Warm the Fudge: Warm the jar of hot fudge sauce according to the package instructions. Typically, this involves microwaving it for a short period or heating it on the stove until it’s pourable.
Drizzle Over Ice Cream: Remove the pan from the freezer and drizzle the warm fudge sauce evenly over the ice cream layer. Use a spatula to spread the fudge, covering the entire surface.
Freeze Again: Return the pan to the freezer for another hour, or until the fudge layer is firm. This will create a rich, chocolaty layer that adds depth to the dessert.
Step 4: Add the Whipped Topping and Oreo Crumbles
Spread the Whipped Topping: Once the fudge layer is firm, spread the thawed whipped topping evenly over the top. This adds a light and fluffy layer that balances the rich flavors of the ice cream and fudge.
Sprinkle with Reserved Oreos: Sprinkle the reserved ½ cup of crushed Oreos over the whipped topping. This adds a crunchy texture and ties the flavors together.
Step 5: Final Freeze
Freeze Again: Place the pan back in the freezer for at least 2 hours, or until the entire cake is firm. This final freeze ensures that all the layers are well set and the cake is easy to cut and serve.
Step 6: Serve
Let It Set: Before serving, remove the ice cream cake from the freezer and let it sit at room temperature for about 15 minutes. This makes it easier to cut through the layers and ensures that each slice is creamy and smooth.
Cut and Enjoy: Use a sharp knife to cut the cake into squares or slices. Serve immediately and enjoy this delicious, indulgent treat.
Tips for Perfect Ice Cream Cake
- Soften Ice Cream Properly: Let the ice cream soften just enough to spread easily but not melt completely. This ensures a smooth, even layer that will set properly.
- Even Layers: Spread each layer evenly to ensure a consistent texture and taste in every bite.
- Proper Freezing: Allow sufficient freezing time for each layer to set properly. This ensures that the cake holds its shape when cut.
- Cutting the Cake: Use a sharp knife and warm it under hot water between cuts for cleaner slices.
Variations
This versatile recipe can be customized in various ways to suit your tastes or the occasion:
- Different Cookies: Substitute the Oreos with other types of cookies, such as chocolate chip cookies, graham crackers, or chocolate wafers.
- Different Ice Cream Flavors: Use your favorite ice cream flavors instead of cookies and cream. Mint chocolate chip, peanut butter cup, or rocky road would be delicious options.
- Add Toppings: Add other toppings such as crushed candies, nuts, or caramel sauce for extra flavor and texture.
- Homemade Whipped Cream: Substitute store-bought whipped topping with homemade whipped cream for a fresher taste.
Storing and Serving
Storage: Store any leftover ice cream cake in the freezer, covered tightly with plastic wrap or aluminum foil to prevent freezer burn. It will keep well for up to a week.
Serving: For best results, let the cake sit at room temperature for about 15 minutes before serving. This allows the ice cream to soften slightly, making it easier to cut and enhancing the flavor.
Health and Safety
Safe Handling: Ensure that the ice cream and whipped topping are properly thawed and handled to avoid any risk of foodborne illness. Use clean utensils and surfaces to prevent contamination.
Allergy Considerations: This recipe contains dairy and gluten, which can be allergens for some people. If serving to a group, consider making a dairy-free or gluten-free version if needed.
Conclusion
This Cookies and Cream Ice Cream Cake is a delightful and indulgent dessert that combines the best elements of cookies, ice cream, and fudge. It’s easy to make yet impressive, making it perfect for any special occasion or just a sweet treat at home. By following this detailed guide, you’ll create a dessert that not only tastes incredible but also looks beautiful on any dessert table.
Whether you’re an experienced baker or just starting out, this recipe is straightforward and rewarding. The combination of crunchy Oreo crust, creamy cookies and cream ice cream, rich hot fudge, and fluffy whipped topping creates a harmonious blend of flavors and textures that will delight your taste buds. Enjoy making and sharing this delicious ice cream cake with your family and friends. Happy baking!


