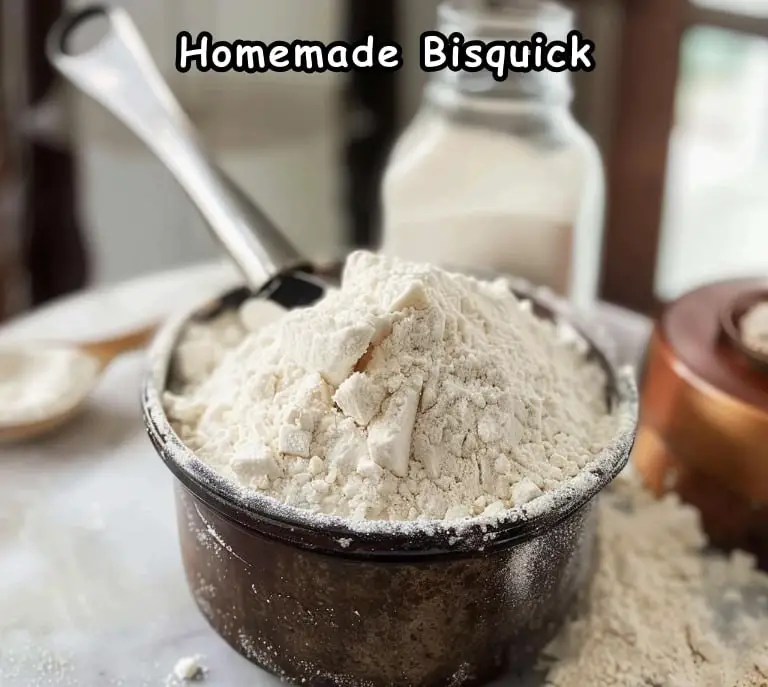
Homemade Bisquick is an incredibly versatile premade baking mix that simplifies the preparation of a wide range of baked goods, from pancakes and biscuits to waffles and muffins. Creating your own Bisquick mix at home allows you to control the ingredients, ensuring a fresh, preservative-free, and customizable product. This article will guide you through the process of making homemade Bisquick, highlight its benefits, and provide various recipes to demonstrate its versatility in the kitchen.
Ingredients
To make your own Bisquick mix, you will need:
- 6 cups (750 g) all-purpose flour
- 2 tablespoons baking powder
- 1 teaspoon kosher salt
- 1 cup (205 g) shortening, chilled and cubed
Instructions
Step 1: Combine Dry Ingredients
- Prepare the Food Processor: Ensure your food processor is clean and dry. Attach the blade and secure the bowl.
- Add Dry Ingredients: Measure out 6 cups of all-purpose flour and add it to the bowl of the food processor. Follow with 2 tablespoons of baking powder and 1 teaspoon of kosher salt.
- Pulse to Combine: Pulse the food processor a few times to thoroughly combine the flour, baking powder, and salt. This ensures that the leavening agents are evenly distributed throughout the flour, which is crucial for consistent baking results.
Step 2: Incorporate the Shortening
- Add Shortening: With the food processor running on low speed, gradually add the chilled, cubed shortening. Add a few cubes at a time, allowing each to be incorporated before adding more.
- Achieve the Right Texture: Continue processing until the mixture resembles a soft, grainy texture. The shortening should be well distributed throughout the flour mixture, creating a consistency similar to coarse sand. This texture is essential for the mix to function correctly in recipes.
Step 3: Store the Mix
- Transfer to an Airtight Container: Pour the homemade Bisquick mix into an airtight container. Ensure the container is clean and dry to prevent any moisture from affecting the mix.
- Store Properly: Store the container in a cool, dry place, such as a pantry. Properly stored, the mix will remain fresh and ready to use for up to three months.
Benefits of Homemade Bisquick
1. Cost-Effective
Making your own Bisquick mix is significantly cheaper than buying the commercial version. The ingredients are basic pantry staples, and buying them in bulk can save even more money in the long run.
2. Customizable
Homemade Bisquick mix can be tailored to your dietary needs and preferences. For instance, you can use whole wheat flour for added nutrition or substitute gluten-free flour if you have gluten sensitivities. You can also control the amount of salt and add other flavorings, such as herbs or spices, to suit specific recipes.
3. Freshness and Quality
Commercial baking mixes often contain preservatives and additives to extend shelf life. By making your own Bisquick, you ensure that your mix is free from these unwanted ingredients, providing a fresher, healthier product.
Versatile Uses for Homemade Bisquick
One of the greatest advantages of homemade Bisquick is its versatility. Here are some popular recipes that demonstrate the wide range of uses for this convenient baking mix:
1. Pancakes
Ingredients:
- 2 cups homemade Bisquick mix
- 1 cup milk
- 2 large eggs
Instructions:
- In a large mixing bowl, combine the Bisquick mix, milk, and eggs. Stir until well combined and smooth.
- Preheat a griddle or skillet over medium heat. Lightly grease with butter or oil.
- Pour ¼ cup of batter onto the griddle for each pancake. Cook until bubbles form on the surface, then flip and cook until golden brown on both sides.
- Serve with your favorite toppings, such as maple syrup, fresh fruit, or whipped cream.
2. Biscuits
Ingredients:
- 2 cups homemade Bisquick mix
- ⅔ cup milk
Instructions:
- Preheat your oven to 450°F (230°C).
- In a mixing bowl, combine the Bisquick mix and milk. Stir until a soft dough forms.
- Drop spoonfuls of dough onto an ungreased baking sheet, spacing them about 2 inches apart.
- Bake for 8-10 minutes, or until the biscuits are golden brown.
- Serve warm with butter, jam, or honey.
3. Waffles
Ingredients:
- 2 cups homemade Bisquick mix
- 1 ⅓ cups milk
- 1 large egg
- 2 tablespoons vegetable oil
Instructions:
- In a large mixing bowl, combine the Bisquick mix, milk, egg, and vegetable oil. Stir until well combined and smooth.
- Preheat your waffle iron and lightly grease with cooking spray or oil.
- Pour the batter onto the preheated waffle iron and cook according to the manufacturer’s instructions until golden brown.
- Serve with syrup, fresh fruit, or whipped cream.
4. Chicken Pot Pie
Ingredients:
- 2 cups cooked, shredded chicken
- 1 cup frozen mixed vegetables, thawed
- 1 can (10.5 ounces) cream of chicken soup
- 1 cup homemade Bisquick mix
- ½ cup milk
- 1 large egg
Instructions:
- Preheat your oven to 400°F (200°C).
- In a large bowl, combine the chicken, mixed vegetables, and cream of chicken soup. Pour the mixture into a greased 9-inch pie plate.
- In a separate bowl, mix the Bisquick mix, milk, and egg until well combined. Pour this batter over the chicken mixture.
- Bake for 30 minutes, or until the topping is golden brown and the filling is bubbly.
- Let cool slightly before serving.
Tips for the Best Homemade Bisquick
1. Use Chilled Shortening
Using chilled shortening helps achieve the correct texture for your mix. It ensures that the shortening is evenly distributed, creating the desired grainy consistency.
2. Proper Storage
Store your homemade Bisquick in an airtight container to keep it fresh. Ensure the container is kept in a cool, dry place to prevent the mix from absorbing moisture and clumping.
3. Experiment with Add-Ins
Feel free to experiment with add-ins to customize your homemade Bisquick. For example, you can add a teaspoon of dried herbs or a tablespoon of grated cheese for a savory twist.
Nutritional Information
Here’s a brief nutritional breakdown per recipe (based on the entire recipe):
- Calories: 3959 kcal
- Carbohydrates: 528g
- Protein: 55g
- Fat: 185g
- Fiber: 18g
Please note that these values are approximate and can vary based on specific brands and measurements used.
Conclusion
Homemade Bisquick is a versatile and convenient baking mix that can simplify your cooking and baking tasks. By making your own, you gain control over the ingredients, ensuring freshness and quality in every recipe. Whether you’re whipping up a batch of fluffy pancakes, flaky biscuits, or a comforting chicken pot pie, this homemade mix will become a staple in your kitchen. Enjoy the ease and deliciousness that homemade Bisquick brings to your culinary creations!


